Allie uses the NEW Tubelet bead to design the Liquid Silver Necklace. It is an everyday piece of jewelry that is great for beginning beaders to make. Enjoy using this tutorial to become a more happy and creative jewelry maker.
The Designer's suggested colors and materials: Tubelet Beads - Labrador Full, ~ 111Beads 4mm Round Gemstone - Magnesite Turquoise, ~ 36 Beads Griffin Silk Cord Size 8 - Brown,~ 2 Meters Knot Covers - Silver Plated, 2 Pieces Clasp - Lobster and Jump Rings, 1 Set Chain for extension optional
Step 3: Need More Help? Follow these Steps
Quick Project Steps
Stretch the Griffin Silk Cord to eliminate kinks and prevent future stretching.
Tie a knot at one end of the silk cord and attach a knot cover to conceal the knot and create a loop for the clasp.
Begin adding beads, starting with a Tubelet bead followed by a knot. Use a hand knotting technique or tools like tweezers to assist with tight, close knots.
Follow a simple pattern of three Tubelet beads followed by one 4mm round turquoise bead, ensuring knots are placed between each bead or group of beads.
Continue the beading and knotting process until you reach the desired length of the necklace.
To finish, secure the final knot, trim excess silk cord, attach the second knot cover, and add the clasp components.
Optionally, create multiple strands for a thicker necklace or a longer piece to wear as a wrap bracelet.
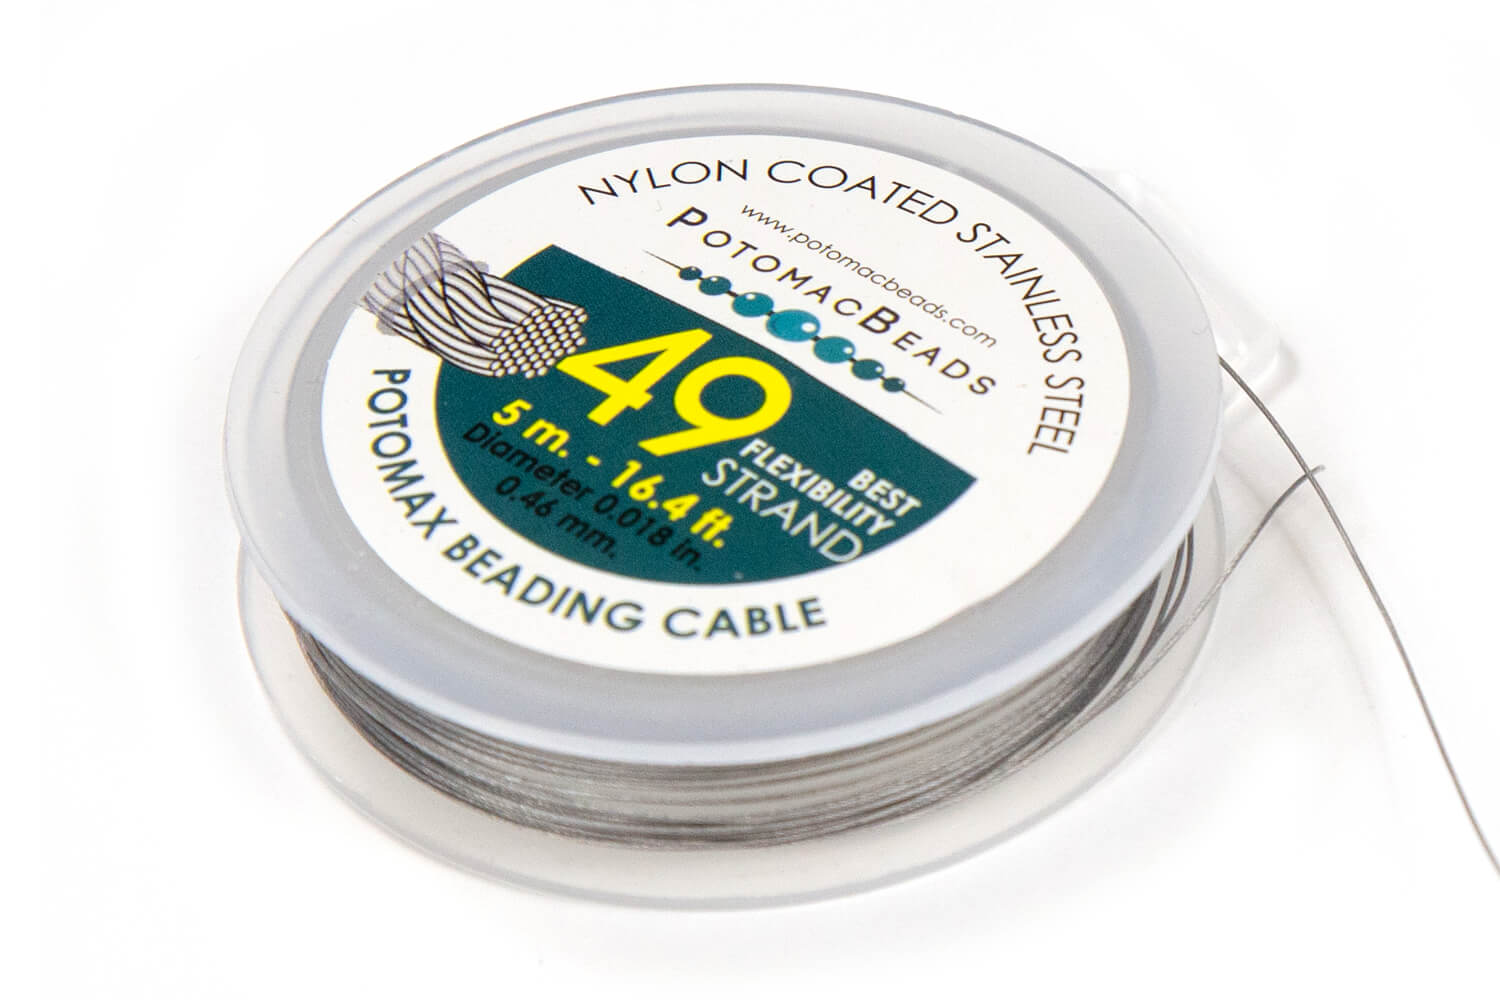
Bring your Czech glass beads to life with this necklace of dancing and floating flashes of color. All you need is stainless steel beading wire, crimp tubes, a clasp, and any collection of Czech glass beads to make this on beat necklace.
Technique learned:CrimpingBasic Beading
Bring your Czech glass beads to life with this necklace of dancing and floating flashes of color. All you need is stainless steel beading wire, crimp tubes, a clasp, and any collection of Czech glass beads to make this on beat necklace.
Technique learned:
Glasgow Rose Embroidered Pendant - DIY Jewelry Making Tutorial by PotomacBeads
Glasgow Rose Embroidered Pendant - DIY Jewelry Making Tutorial by PotomacBeads
Watch Anna Tonnesen as she provides detailed step by step tutorial instructions to learn to embroider with beads. Create the Glasgow Rose pendant or create your own masterpiece of DIY jewelry following this project tutorial. Learn how to lay out your embroidery project, cut and shape your surface, sew on beads, apply the backing and seem the sides of the piece.
Comet Earrings - DIY Jewelry Making Tutorial by PotomacBeads
Flower Gem Earrings - DIY Jewelry Making Tutorial by PotomacBeads
Embroidered Rings - DIY Jewelry Making Tutorial by PotomacBeads
Thus far, I'm happy with Potomac Bead Co. I have placed orders in the past and have been pleased.
Share
Dianne F.
06-02-25
I watched several "how to" videos, which answered questions I had and decided to shop. I purchased items from the videos and look forward to using them.
Share
Debbie O.
06-02-25
The pull-down menu under the "learn about" tab for "bead patterns" did not work, so I could not shop for patterns this time.
Share
Rosemary K.
06-02-25
The quality of the beads and the care of service has always been #1 with Potomac. I love Potomac Beads.
Share
Syndi T.
06-02-25
Always so easy to find pattern that are fun and easy to make with beautiful results. I love having bought 5 patterns package a month. I just wish I had more time to sit and bead.
Share
Melody F.
06-02-25
Easy to find items, but many things are out of stock
Share
Anne D.
06-02-25
Fun
Share
Nita G.
06-02-25
Ordering was easy, delivery was quick, and the kit has everything needed for the project.
Share
Linda D.
06-02-25
I wanted order shipped to another address and I don’t think that got through. Hopefully I will have my order by 6/11.
Share
Loading...
Only Visible on Admin Mode
Item Description
Allie uses the NEW Tubelet bead to design the Liquid Silver Necklace. It is an everyday piece of jewelry that is great for beginning beaders to make. Enjoy using this tutorial to become a more happy and creative jewelry maker.
Designer's Material List
The Designer's suggested colors and materials: Tubelet Beads - Labrador Full, ~ 111Beads 4mm Round Gemstone - Magnesite Turquoise, ~ 36 Beads Griffin Silk Cord Size 8 - Brown,~ 2 Meters Knot Covers - Silver Plated, 2 Pieces Clasp - Lobster and Jump Rings, 1 Set Chain for extension optional
Project Steps
Stretch the Griffin Silk Cord to eliminate kinks and prevent future stretching.
Tie a knot at one end of the silk cord and attach a knot cover to conceal the knot and create a loop for the clasp.
Begin adding beads, starting with a Tubelet bead followed by a knot. Use a hand knotting technique or tools like tweezers to assist with tight, close knots.
Follow a simple pattern of three Tubelet beads followed by one 4mm round turquoise bead, ensuring knots are placed between each bead or group of beads.
Continue the beading and knotting process until you reach the desired length of the necklace.
To finish, secure the final knot, trim excess silk cord, attach the second knot cover, and add the clasp components.
Optionally, create multiple strands for a thicker necklace or a longer piece to wear as a wrap bracelet.
Bullet 1
Bullet 2
Bullet 3
You must be logged in to access the wishlist feature.