
- Jewelry-Making Supplies ▾
Design Jewelry with Confidence!
Seed Beads
Thread, Wire, & Stringing Materials
Athenacast Findings & Components
Everything Else
- Kits & Collections ▾
Assemble Your World
Kits & Collections
- Subscriptions ▾
Want monthly Beading Happiness?
Subscriptions
- Learn to Make ▾
Want to learn more?
- Discounts & Deals ▾
Explore Today's Promotions!
- Jewelry-Making Supplies
- Kits & Collections
- Subscriptions
- Learn to Make
- Discounts & Deals
-
Seed Beads
Thread, Wire, & Stringing Materials
Findings & Components
Everything Else
-
Kits & Collections
-
Subscriptions
- Home
- How to Make Jewelry
- Better Beader Episodes
- How to Reading Beading Patterns
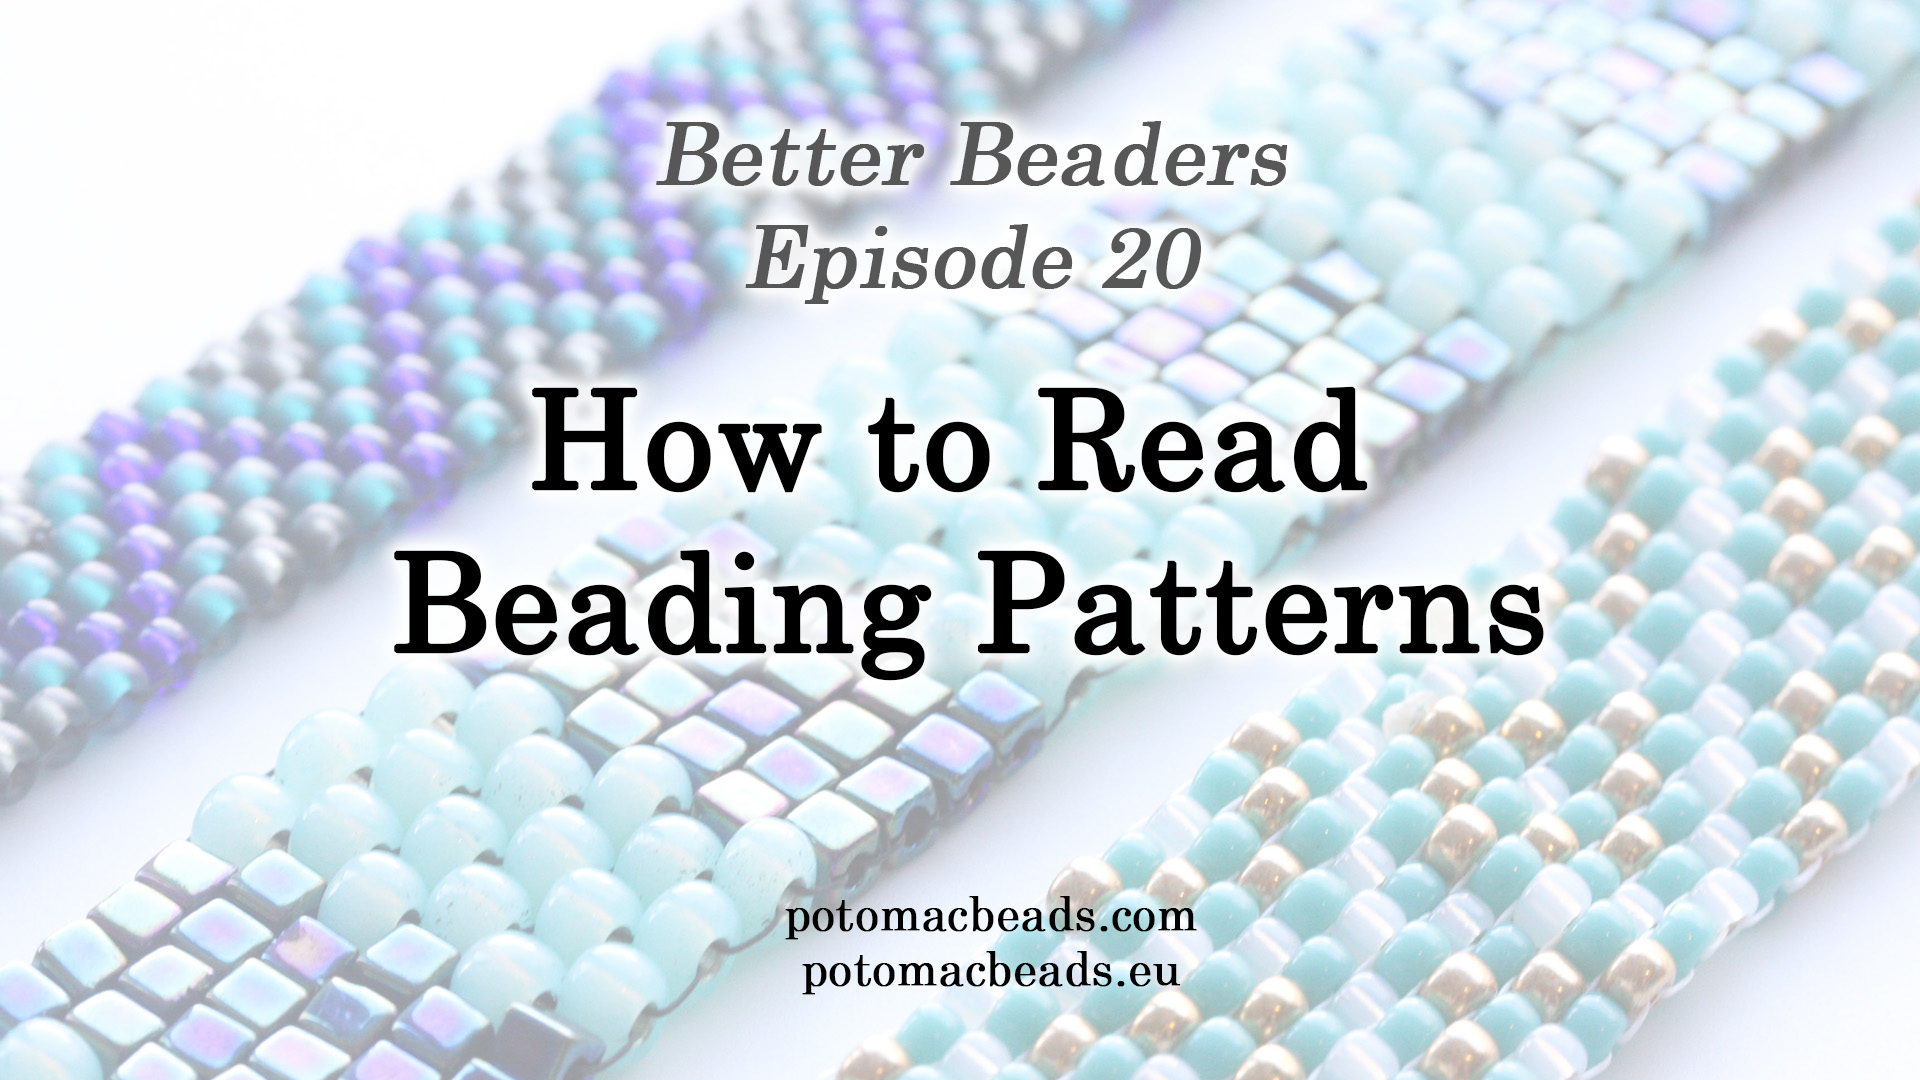
How to Reading Beading Patterns


Watch the Video Tutorial
Watch the Video Tutorial
Need Any Extra Materials?
Need Any Extra Materials?
Need Any Extra Materials?
Need Any Extra Materials?


Episode Transcript
Episode Transcript
Introduction
Reading beading patterns can seem daunting at first, but with a little guidance, you'll be able to unlock a world of creative possibilities. In this article, we'll walk you through the key elements of beading patterns and provide tips on how to interpret them with ease. Based on the insightful Better Beader Episode 20 from Potomac Beads, you'll gain the confidence to tackle any beading pattern that catches your eye.
Materials Needed
- Beading patterns (printed or digital)
- Beads in various sizes, shapes, and colors
- Beading thread or cord
- Beading needles
- Scissors
- Bead mat or work surface
Understanding Beading Pattern Elements
- Materials List: Start by reviewing the materials list provided in the pattern. It will specify the types and quantities of beads needed, as well as any additional supplies like clasps or findings.
- Bead Legend: Most patterns include a bead legend that assigns a letter, number, or symbol to each bead color or size used in the design. Familiarize yourself with the legend to easily identify the beads as you work through the pattern.
- Diagrams and Charts: Beading patterns often feature diagrams or charts that visually represent the placement of each bead. Pay attention to the orientation of the beads and any directional arrows that indicate the beading path.
- Written Instructions: Some patterns may include written instructions that guide you through the beading process step by step. Read through these instructions carefully and cross-reference them with the diagrams for clarity.
Tips for Reading Beading Patterns
- Take your time and read through the entire pattern before starting your project. This will give you a better understanding of the overall design and any special techniques used.
- Highlight or mark the bead legend for quick reference as you work.
- If the pattern includes multiple diagrams or charts, focus on one section at a time to avoid confusion.
- Double-check your bead placement and count as you go to ensure accuracy.
- If you encounter any unfamiliar terms or techniques, don't hesitate to look them up or seek guidance from beading resources or communities.
Practice Makes Perfect
As with any new skill, reading beading patterns becomes easier with practice. Start with simpler patterns and work your way up to more complex designs as you gain confidence. Don't be discouraged if you make mistakes along the way – embrace them as learning opportunities and keep exploring the wonderful world of beading.
Conclusion
By understanding the key elements of beading patterns and following the tips shared in Better Beader Episode 20, you'll be well on your way to creating stunning beaded jewelry and accessories. Remember to take your time, stay organized, and most importantly, have fun! We encourage you to share your beading projects and any questions you may have in the comments below. Happy beading!
Join Our Growing Community
Join Our Growing Community


Our Testimonials
Our Testimonials
- 56084 (83.7%)
- 4821 (11.3%)
- 3302 (4.2%)
- 233 (0.5%)
- 125 (0.3%)
- Favorite Reviews
- Highest to Lowest
- Newest to Oldest
- All Ratings
- 5 ★ Reviews
- 4 ★ Reviews
- 3 ★ Reviews
- 2 ★ Reviews
- 1 ★ Reviews
Loading...
Only Visible on Admin Mode
Item Description
Designer's Material List
Project Steps
Counting Beads for Peyote Patterns: For peyote, count the beads for the first two rows as one since they are worked together.
Following a Pattern Without Instructions: Look at the color and bead placement to start. Peyote patterns have alternating rows, while loom patterns start flat.
Interpreting Written Instructions: Patterns may use letters to denote colors (A, B) and numbers in parentheses to indicate bead counts.
Using Graph Paper: For custom patterns, graph paper can help plan out designs for both peyote and loom projects.
Reading Patterns Thoroughly: Always read or watch through the entire pattern or tutorial before beginning your work to avoid any confusion.
Highest Quality
Products
100% Money
Back Guarantee
Fast
Shipping
Best Teaching &
Customer Service
You'll want these emails...
Get Free Projects & Inspiration
Get Free Projects & Inspiration
- Bullet 1
- Bullet 2
- Bullet 3

240 N Prospect St. Hagerstown, MD 21740

(301) 393-4667

hello@potomacbeads.com


Copyright © PotomacBeads