
- Jewelry-Making Supplies ▾
Design Jewelry with Confidence!
Seed Beads
Thread, Wire, & Stringing Materials
Athenacast Findings & Components
Everything Else
- Kits & Collections ▾
Assemble Your World
Kits & Collections
- Subscriptions ▾
Want monthly Beading Happiness?
Subscriptions
- Learn to Make ▾
Want to learn more?
- Discounts & Deals ▾
Explore Today's Promotions!
-
Seed Beads
Thread, Wire, & Stringing Materials
Findings & Components
Everything Else
-
Kits & Collections
-
Subscriptions
- Home
- How to Make Jewelry
- Better Beader Episodes
- How to Use a Bead Board
How to Use a Bead Board

Watch the Video Tutorial
Watch the Video Tutorial
Need Any Extra Materials?
Need Any Extra Materials?
Need Any Extra Materials?
Need Any Extra Materials?


Episode Transcript
Episode Transcript
Introduction
In Better Beader Episode 21, Allie and Katelyn from Potomac Beads demonstrate the versatility and usefulness of a bead board for jewelry making projects. A bead board is an essential tool that helps you lay out your design, measure your beadwork, and keep your beads organized while you work. In this article, we'll share some key tips and techniques from the episode to help you make the most of your bead board.
Materials Needed
- Bead board
- Beading mat (optional)
- Beads of your choice
- Beading thread or cord
- Scissors
Step-by-Step Tutorial
- Place your bead board on a flat surface. If desired, lay a beading mat underneath to prevent beads from rolling off your work area.
- Begin laying out your beads on the board to create your design. The grooves in the board will help keep the beads in straight lines and make it easier to visualize your pattern.
- Use the measurements along the edge of the board to determine the length of your beadwork. This is especially helpful when creating bracelets or necklaces that need to be a specific size.
- As you work, use the compartments on the board to keep your beads separated by color, size, or type. This will help you stay organized and make it easier to find the beads you need.
- If you need to take a break or want to save your design for later, use the snap-tight lid to securely close your bead board. This will prevent beads from spilling out and keep your work protected.
Customization Ideas & Inspiration
One of the great things about using a bead board is that it allows you to experiment with different designs and color combinations before committing to your final project. Try laying out your beads in various patterns or gradients to see what looks best. You can also mix and match different bead shapes, sizes, and finishes to create unique textures and visual interest.
If you're feeling stuck or need some inspiration, try browsing beading magazines, online forums, or social media pages for ideas. You can also check out other episodes of the Better Beader series for more project tutorials and helpful tips.
Conclusion
A bead board is a must-have tool for any beader, whether you're a beginner or an experienced jewelry maker. By following the tips and techniques shared in Better Beader Episode 21, you'll be able to create beautiful, professional-looking designs with ease. So grab your beads and start exploring the possibilities of your bead board today!
If you have any questions or want to share your own beading tips and tricks, be sure to leave a comment below. Happy beading!
Join Our Growing Community
Join Our Growing Community
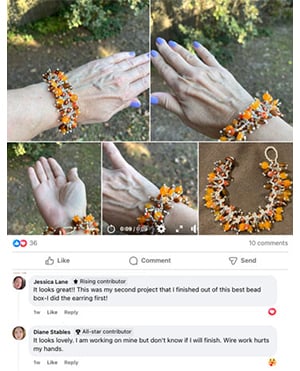


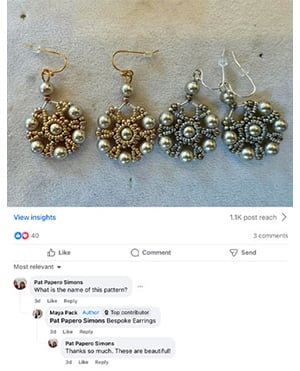
Our Testimonials
Our Testimonials
Only Visible on Admin Mode
Item Description
Designer's Material List
Project Steps
Understanding the Layout: Note the flocked surface, recessed sections for beads, and the measurements in inches and centimeters.
Designing Your Jewelry: Decide if your project is a single or multi-strand piece and use the corresponding channels on the bead board for layout.
Measuring and Arranging Beads: Place your beads along the outer channels for single strand projects or the inner channels for multi-strand designs.
Adjusting for Necklace Lengths: Use the measurements provided to determine the length of your necklace or bracelet, factoring in extra length for clasps.
Finalizing Your Design: Once satisfied, you can begin stringing your beads according to the layout on the bead board.
Highest Quality
Products
100% Money
Back Guarantee
Fast
Shipping
Best Teaching &
Customer Service
You'll want these emails...
Get Free Projects & Inspiration
Get Free Projects & Inspiration
- Bullet 1
- Bullet 2
- Bullet 3

240 N Prospect St. Hagerstown, MD 21740

(301) 393-4667

hello@potomacbeads.com


Copyright © PotomacBeads